
A Wildflower Cottagecore Wallpaper fit for the Chanterelle Cottage
When my husband Matthew gave me permission to put my body and soul into our guest cottage (figuratively, don’t worry), I knew I wanted to take it as an opportunity to express my love of whimsy design and going a little over the top. Allowing each room to unfold for our guests as they walk through, like the chapters of a book.
When it was time to start thinking about the upstairs bedroom design, I knew I had an opportunity to really adhere to that vision: this bedroom comprises the entire second floor of the cottage, so it is completely disconnected from the rest of the house. It is essentially a finished attic space and it’s level with the surrounding tree canopies. That meant it would be perfect for its aesthetic to branch out from the visual through-line of the other spaces.
I’d seen our favorite wallpaper design studio posting about their “Where the Wildflowers Grow” Wallpaper for some time, and I knew this paper would turn the room into something special—that after staying here you could leave with memories of sleeping among the birds and butterflies and flowers depicted on the walls and ceiling.
Divine Savages offers several different colorways for this pattern—from peach to mustard yellow to a gorgeous blue—I felt this green color was the most appropriate for a forest cottage.
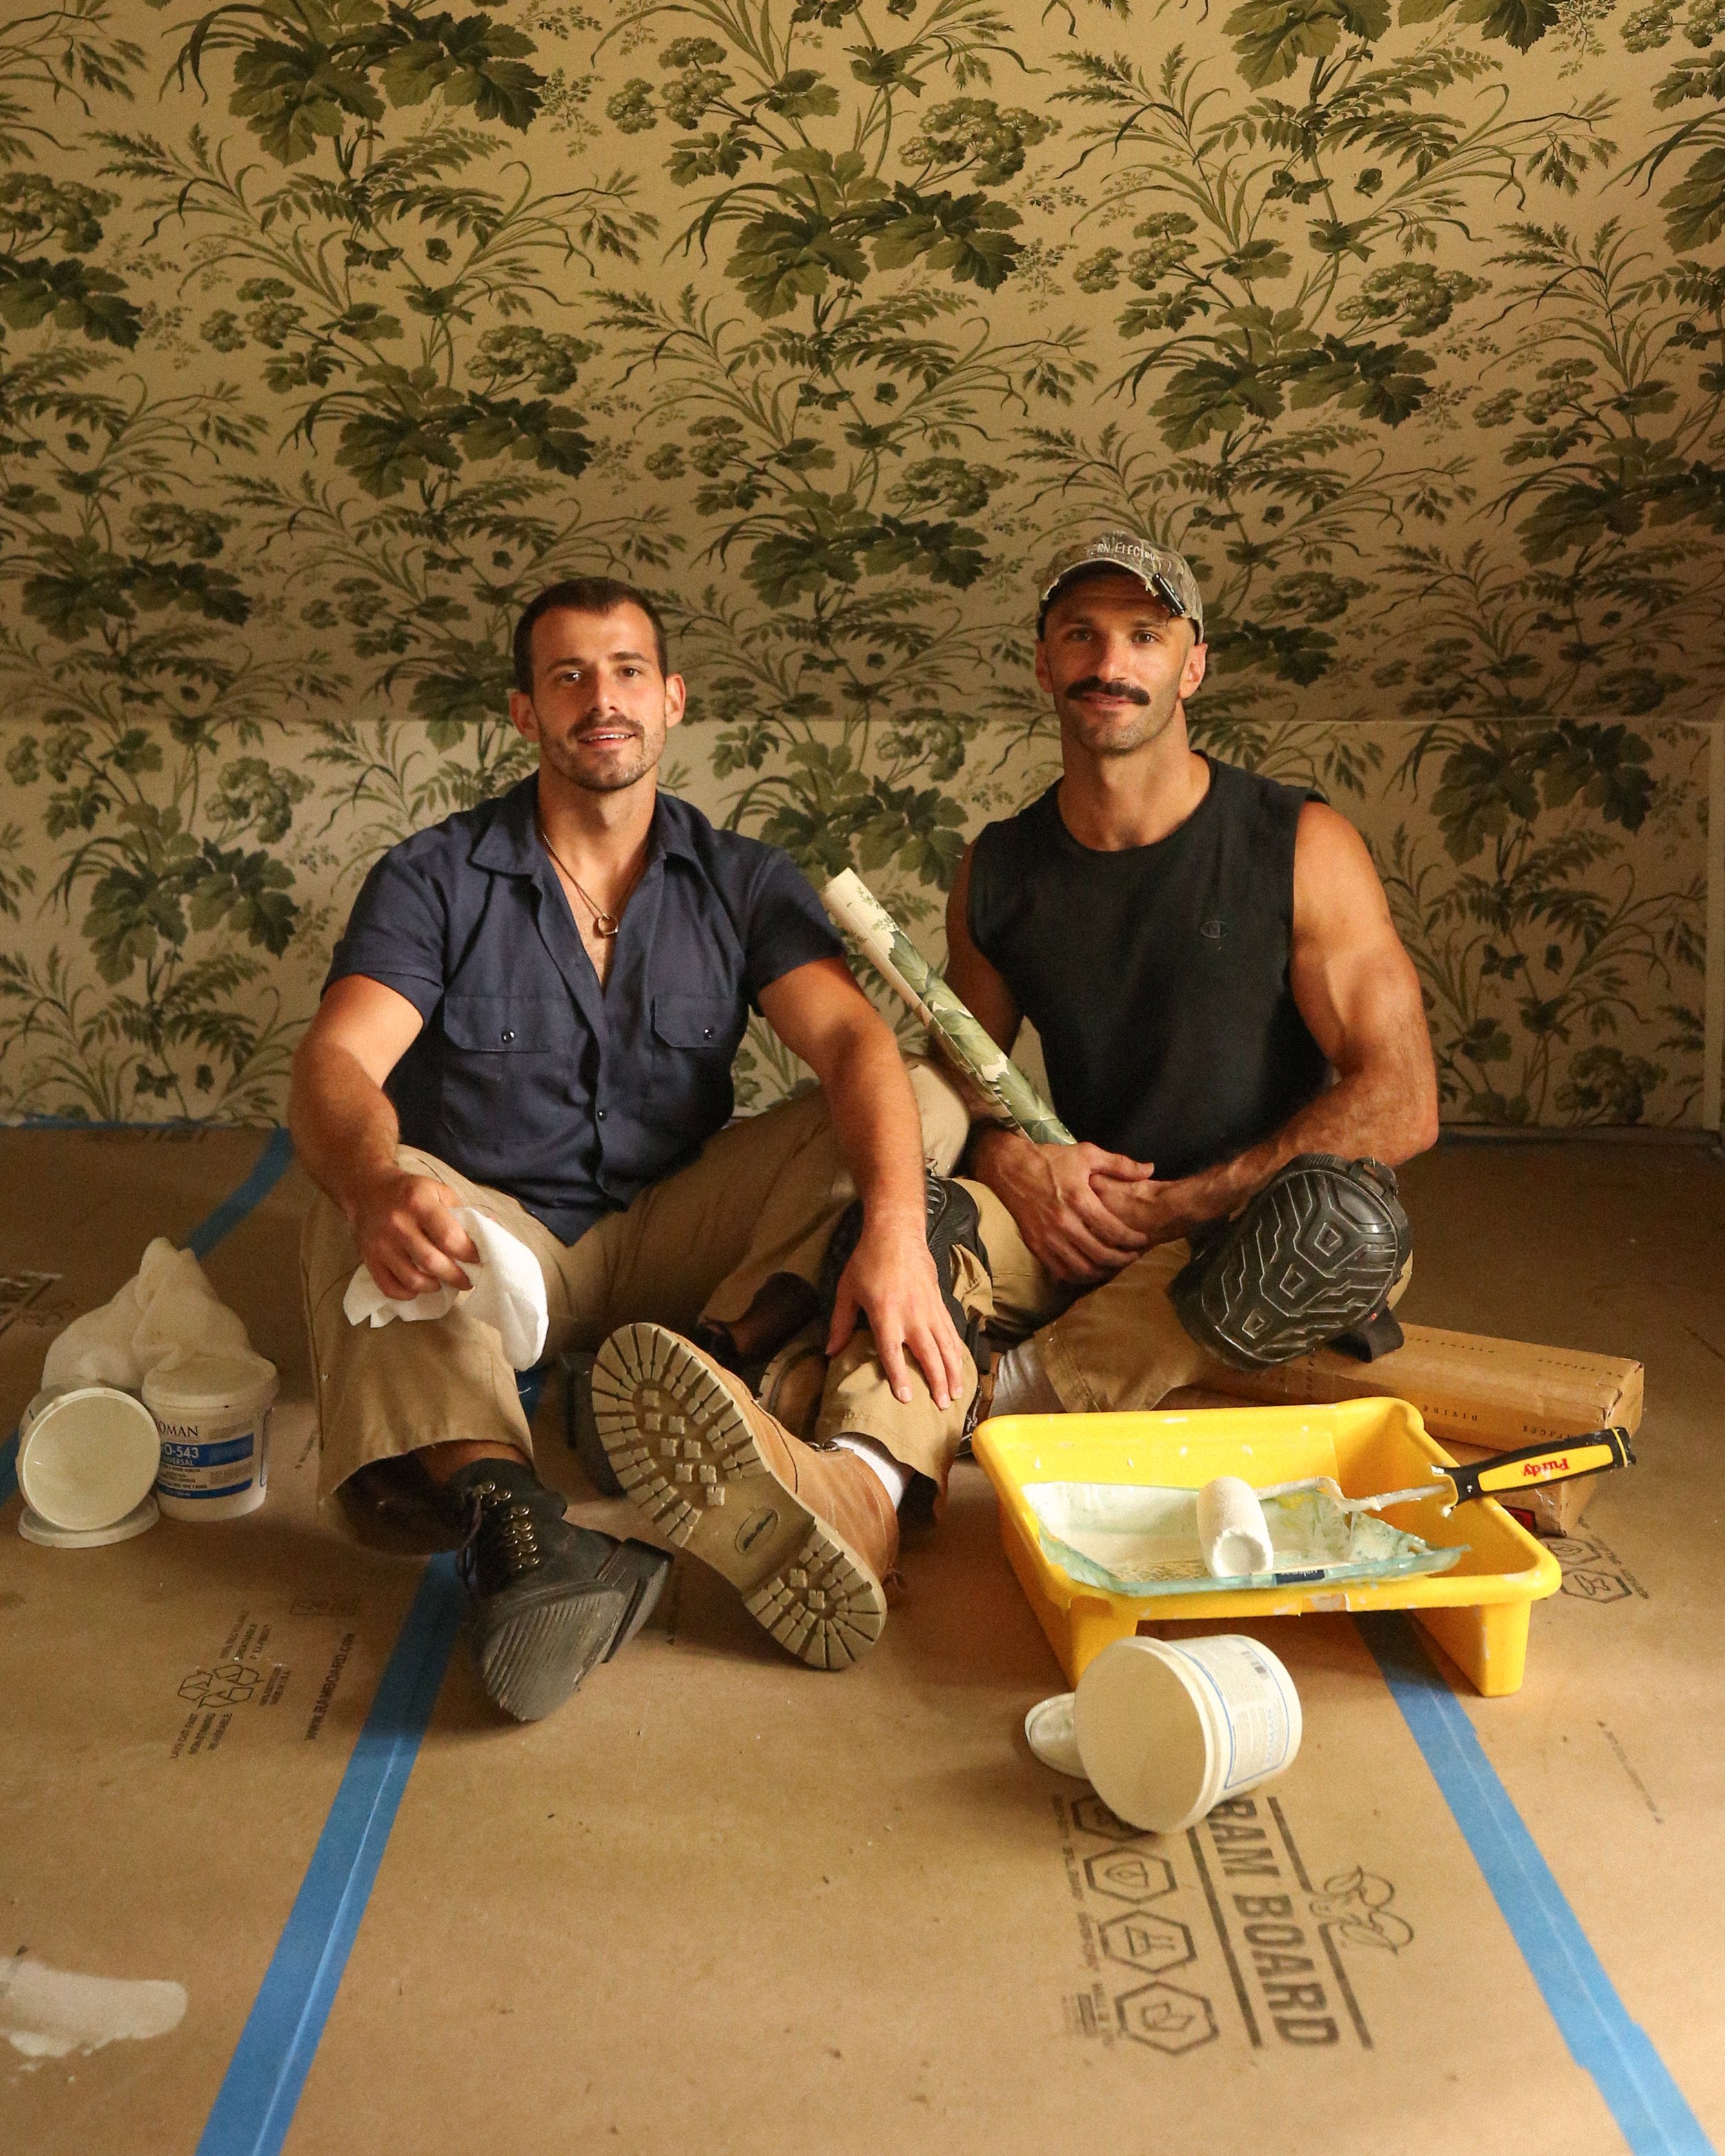
Matt and I have installed wallpaper several times—in our study, the floral den, and the bunk bedroom of our New Orleans house—and to be honest we’ve usually not enjoyed it. It is a tedious task with little room for error and lots of potential for argument. Butttt, wallpaper install is expensive to hire out, if we could even find someone in our little forest corner of Southeastern Tennessee—and we couldn’t. With zero other options we were back at it!


This bedroom is very angular, and because the wallpaper I wanted is directional, we had to figure out a solution for where the different angles and seams of the room would meet. Perusing on Pinterest led us to decide that the best option was installing a system of 1x4” trim along the corners and creases in the room so that the pattern could break without being noticeable. When you can’t make something seamless, lean into the seam.
The trim is just a simple primed pine 1x4 that Matt cut with his miter saw, and we painted it with Sherwin-Williams’s Secret Garden in their High Gloss Enamel product for a beautiful shine. When we have worked with trim and moulding in the past, we’ve usually installed the pieces before painting. This time, though, so as to not risk getting any paint on the beautiful wallpaper, Matt meticulously measured for each cut, checked that they fit, and then had me paint the pieces before we attached them in place with the brad nailer. Then a little caulk and a touch up brush helped to hide the brad holes and joints where the pieces of trim met.

The paper we used is a paste-the-wall wallpaper, which means the process is pretty basic: brush or roll wallpaper hanging paste onto a clean, primed wall, gently apply your wallpaper, smooth it out with a smoothing tool, and begin the next panel by matching the repeat (where the pattern starts over).
My only real tips here as someone who is not a wallpaper install expert is: use just enough wall paste to evenly attach the wallpaper to the wall, but not so much to where the wallpaper is, like, sliding on the wall. Having a lot of paste makes it easier to slide the pattern repeat into the exact spot, but it also can result in the wallpaper expanding and then contracting once it dries, leaving you with visible seams.
If you’re worried about the seams, take a section of your wallpaper to a paint store and have them color match the background color. Then paint your walls that color before applying the wallpaper.It won’t fix everything but will be at the very least less noticeable than, say, a primer white or some color not represented in your wallpaper at all, if you have minor seams.
The quick and easy shopping list for wallpaper hanging
Your desired wallpaper, with a 15% excess
Paint roller and roller head (my preference is the “mini size” to give you the most accuracy)
My tips for using the above are:
Before you begin double check that you’ve got enough wallpaper to finish your project!
To start, cut your first panel, leaving a little excess on the top and bottom, and set aside.
Roll your paint roller into your adhesive in the paint tray, and apply a thin coat the the wall covering the entire area your panel will go on (don’t do the whole wall—this stuff dries fast, work panel by panel).
Apply your first panel to the wall, and use your smoothing tool to smooth out the entire surface, applying gentle pressure to ensure it evenly adheres, but not so much pressure that you wrinkle the paper.
Wipe any excess adhesive that gets pushed from underneath the paper and onto the wall during this process, if necessary.
Begin the next panel in the same way, and once it is installed use your seam roller to roll over the seam between the two panels.
Repeat until done!


![The Best Hudson Valley Cottage Stay [Upstate New York Travel]](https://images.squarespace-cdn.com/content/v1/5451b54de4b0d0c075728ccb/1690378254614-DFO3V1TFOY571DIHUNRL/hudson+valley+trip+cottage-4.jpg)